Recent work

Eight jobs, start to finish.

Real jobs, real phone photos, in the order they actually happened. No stock images.

Roof & Exterior

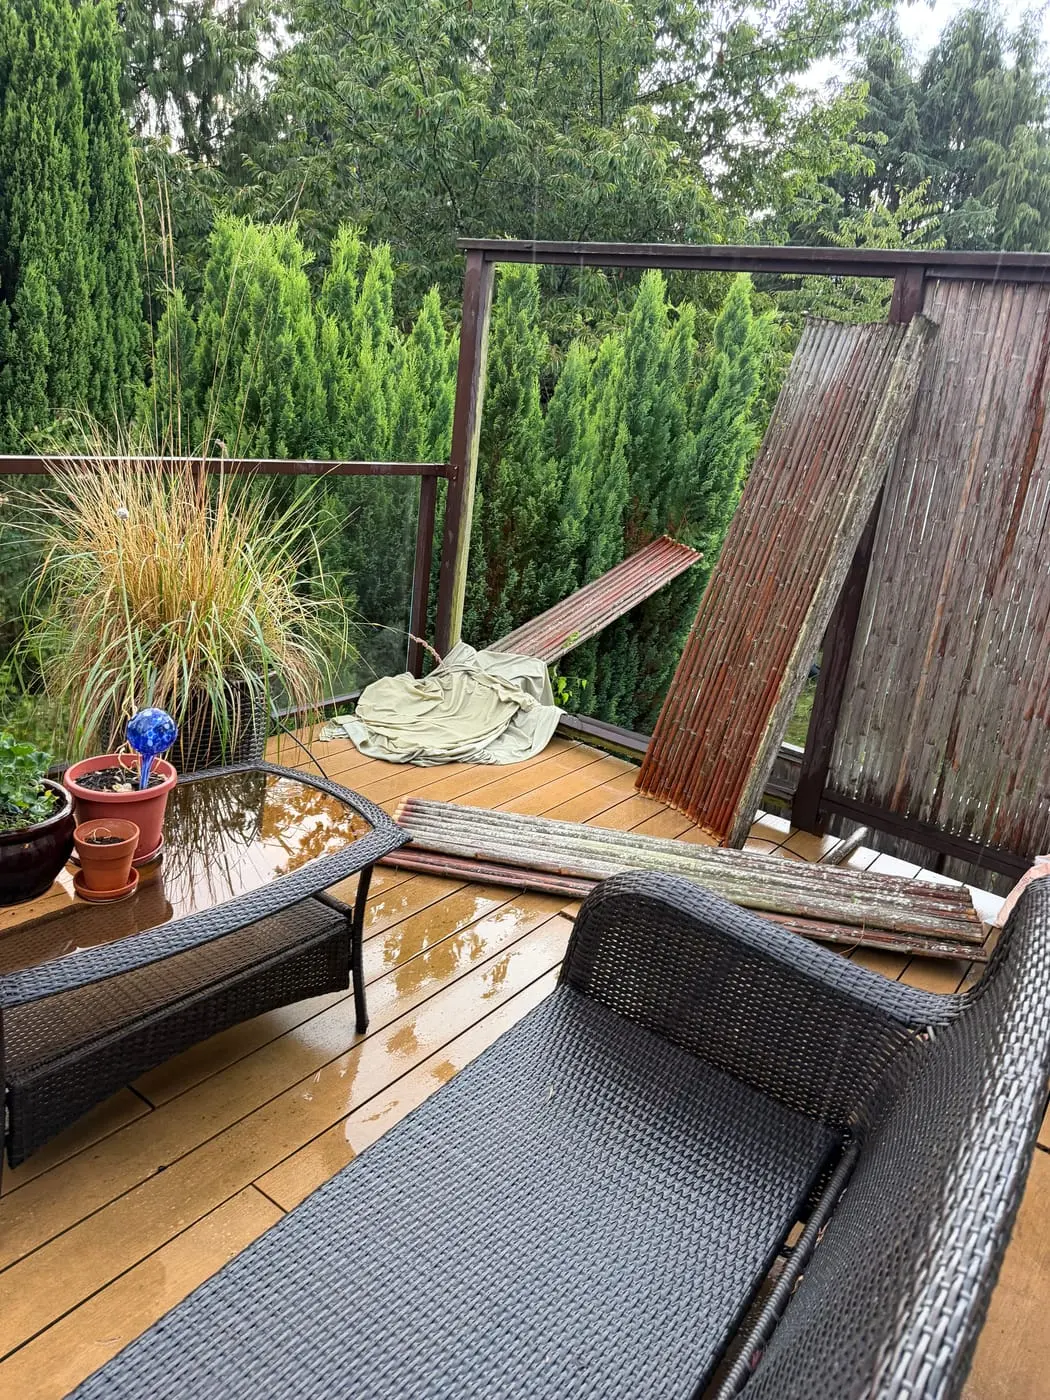
The bamboo was fine. The frame holding it was not.

Everyone assumed the whole screen had to go. It did not.
Time on site: Two days·12 photos

Vines growing straight through the panels.Before
Vines growing straight through the panels.
Overgrowth gone — this run is straight and secured with new rails.After
Overgrowth gone — this run is straight and secured with new rails.
Original bamboo lifted out before the failed frame was rebuilt.Before
Original bamboo lifted out before the failed frame was rebuilt.
Done — frame rebuilt, original bamboo kept, deck refinished.After
Done — frame rebuilt, original bamboo kept, deck refinished.

The problem

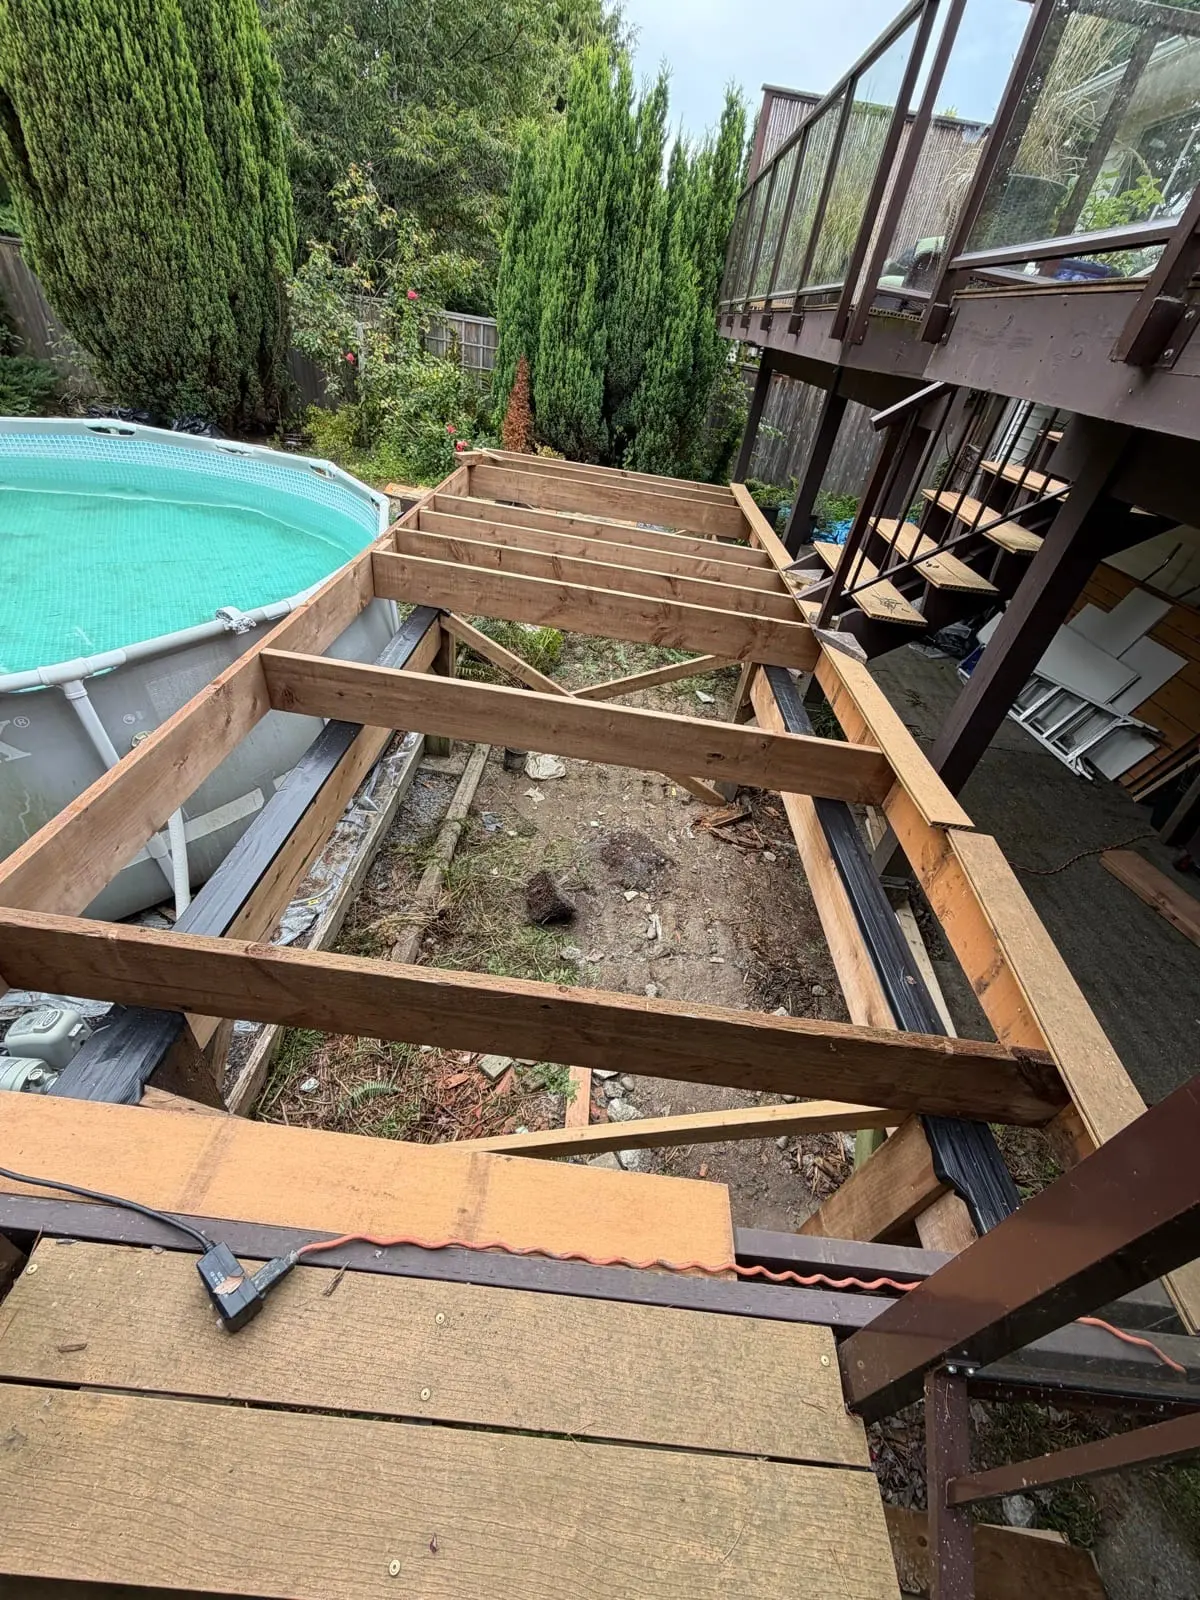
A bamboo privacy screen along the edge of an upper deck had been through too many wet winters. Vines had grown right through it, the timber frame and trim holding the panels had gone soft and let go in places, and the top rail was no longer holding anything down. The bamboo itself was mossy and tired-looking but still sound — which is the part most people get wrong before they price a full replacement.

What we did

We cleared the overgrowth, took the failed timber off, and rebuilt the frame: new top rail, new bottom rail and new vertical trim, cut on site and fastened panel by panel so the bamboo is held flat again. Every piece of new timber was sanded and stained before it went up rather than after — slower on the day, but it is the reason the end grain will not drink water next winter. The frame went dark to match the posts, and the deck boards were cleaned and refinished at the same time.

The result

Privacy back, frame sound, and the original bamboo kept. Reusing what still works is usually the difference between a repair and a rebuild — and between a few hundred dollars and a few thousand.

Book this job: Roof & Exterior

Drywall & Painting

The stipple ceiling that was letting go

It starts as one flake on the bathroom floor. Then you look up.
Time on site: Three days, most of it waiting for coats to dry·7 photos

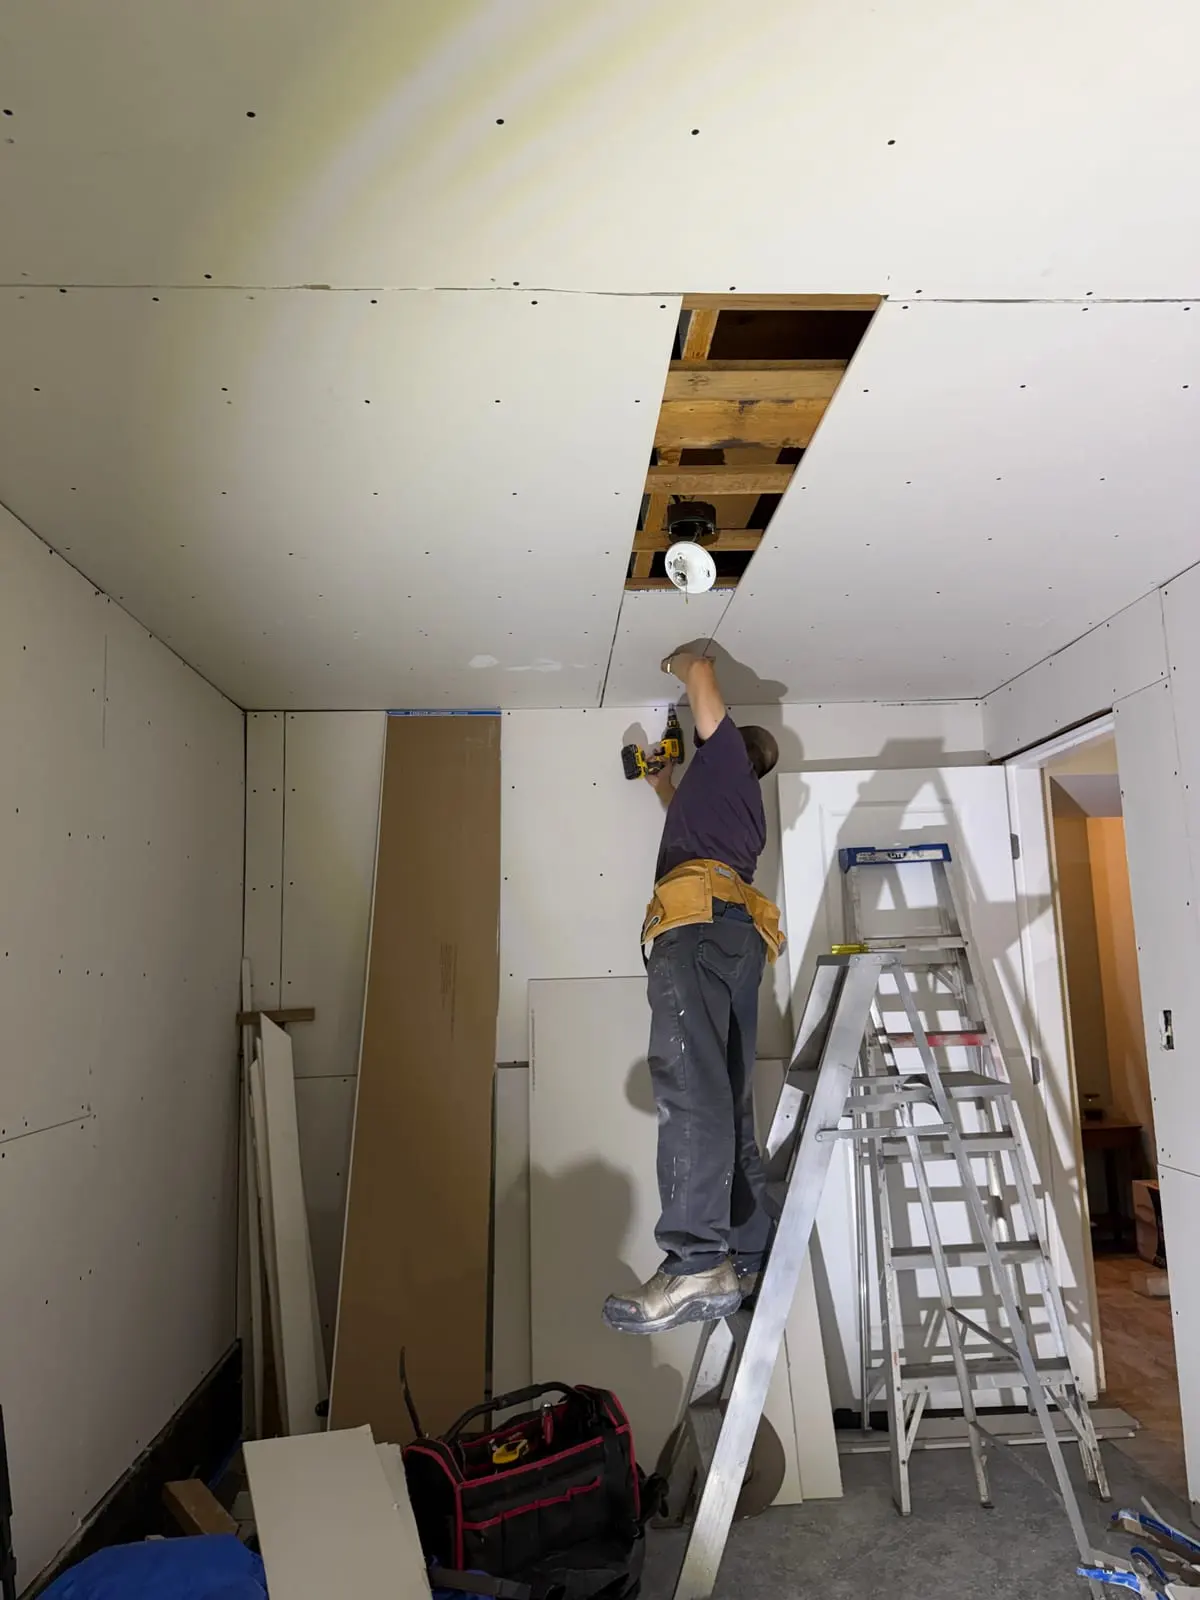
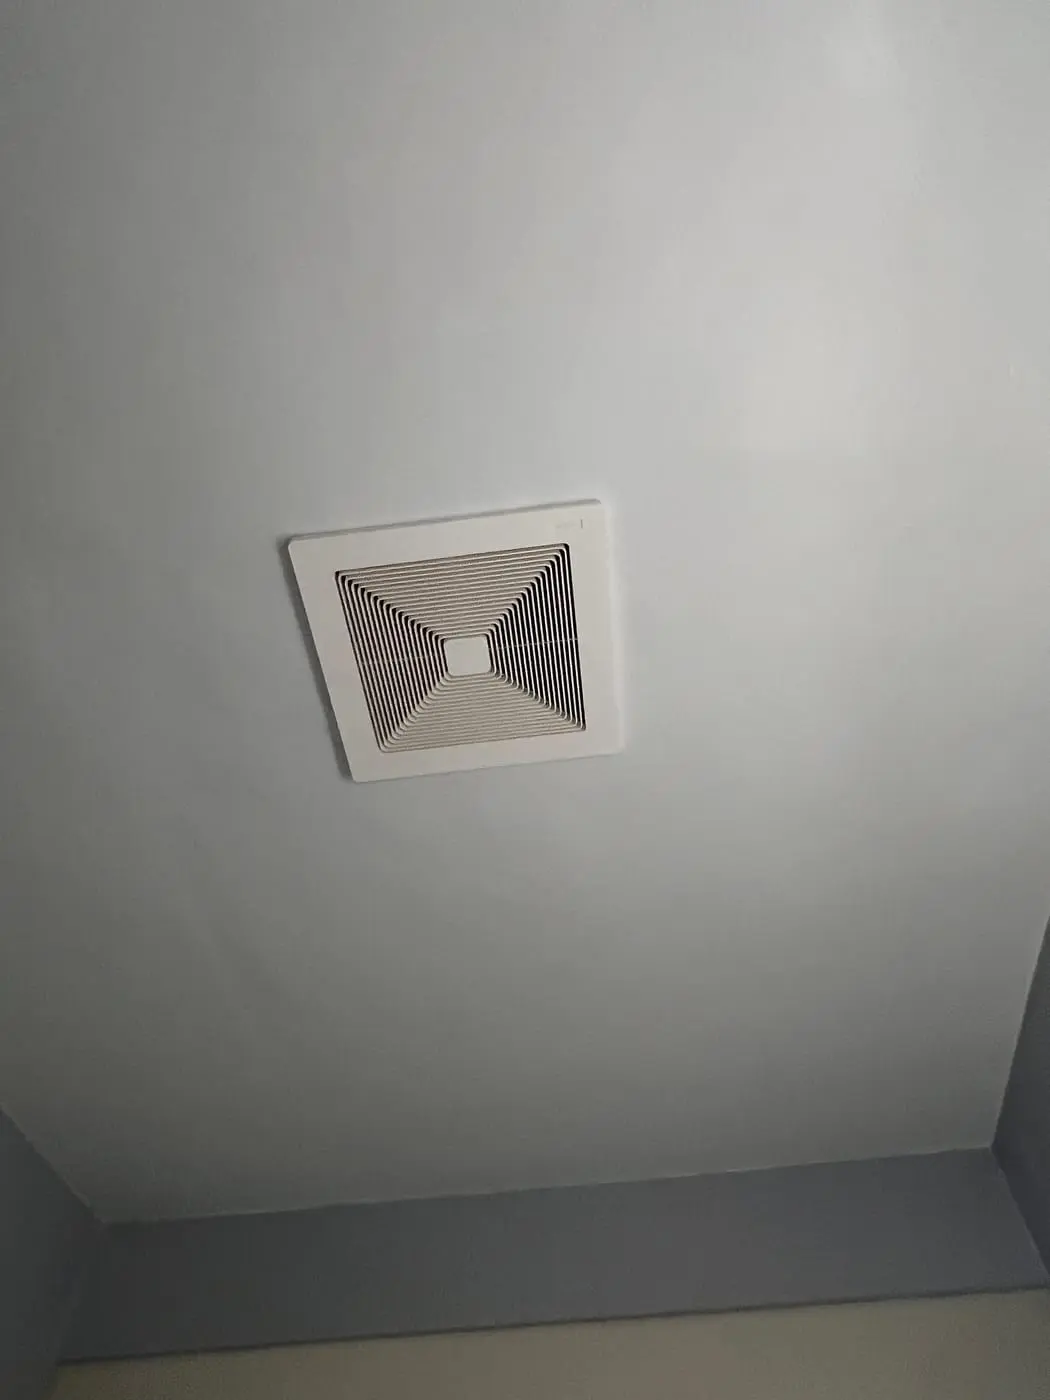
Stipple letting go across the whole ceiling, plus a torn-open fan opening. Note the plastic and tape — that goes up first.Before
Stipple letting go across the whole ceiling, plus a torn-open fan opening. Note the plastic and tape — that goes up first.
Flat, painted, and the grille sitting flush.After
Flat, painted, and the grille sitting flush.

The problem

An old stipple ceiling had lost its bond and was shedding across the whole room, and the drywall around the exhaust fan had been torn open on top of it. Patching a ceiling that is failing everywhere does not work — you would be feathering a repair into a surface that is itself coming off.

What we did

We sheeted the walls and floor in plastic and taped the edges before touching anything, because this job makes an enormous mess. Then the loose stipple came off, the fan opening was cut square and patched onto solid backing, and the whole ceiling was skim-coated flat, sanded and painted. Every coat has to dry properly — rushing that is exactly why a repair shows up later under the light.

The result

A flat, smooth, clean ceiling and a fan grille sitting flush again. Going smooth instead of re-stippling is usually the right call on a ceiling this far gone, and it dates the room forward about thirty years.

Book this job: Drywall & Painting

Roof & Exterior

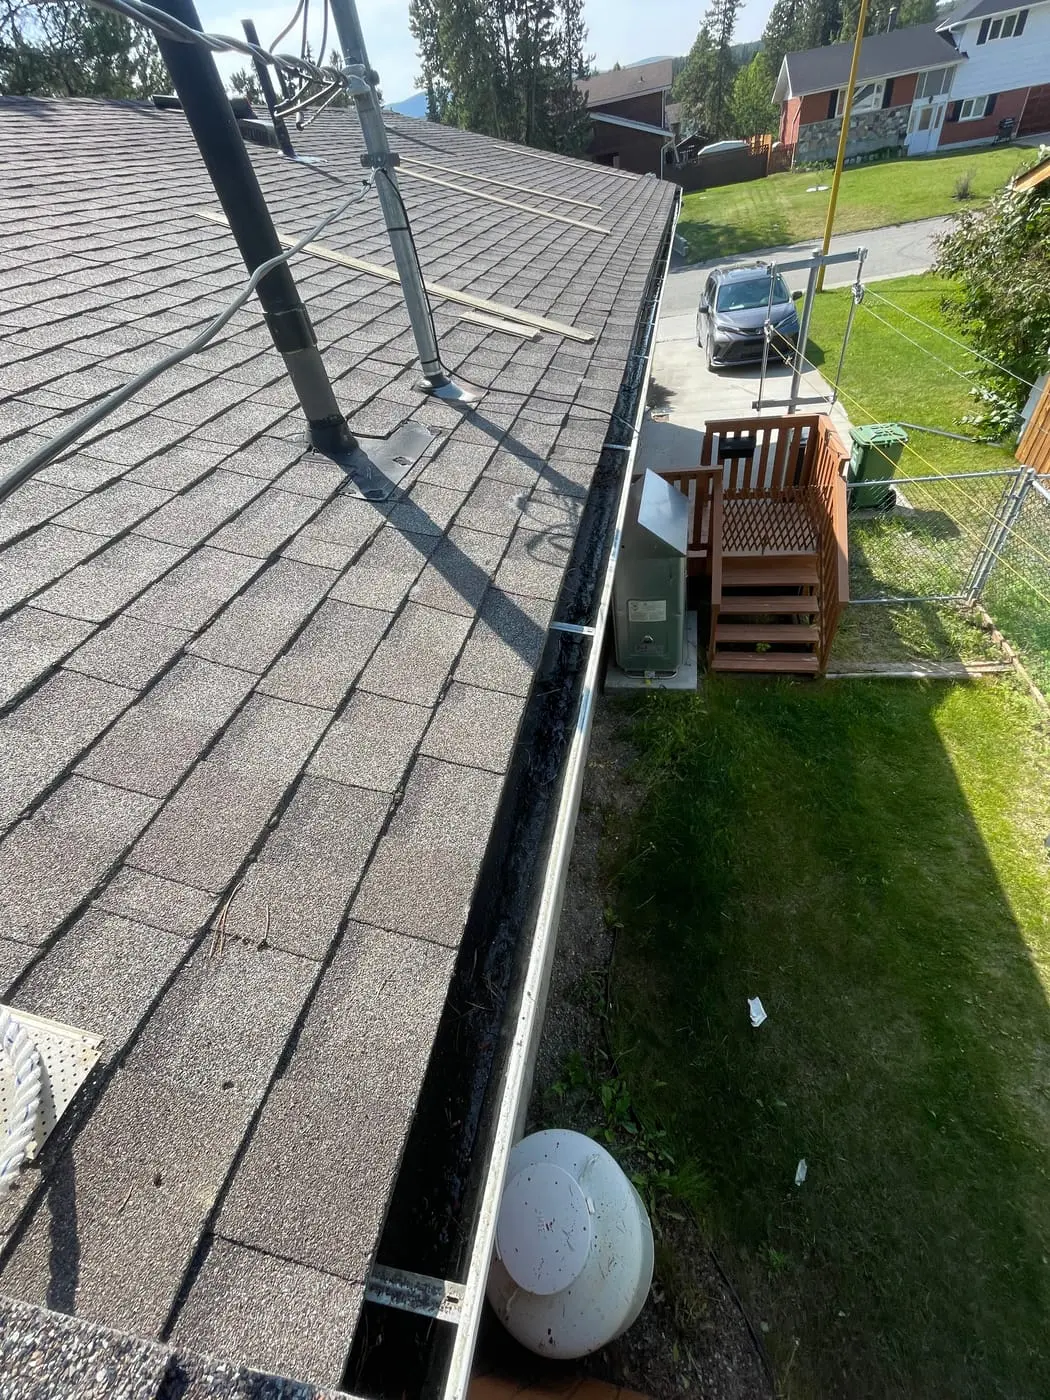
Two years of fir needles, one afternoon

The downspout was dry in a rainstorm. That is never a good sign.
Time on site: Half a day·5 photos

The problem

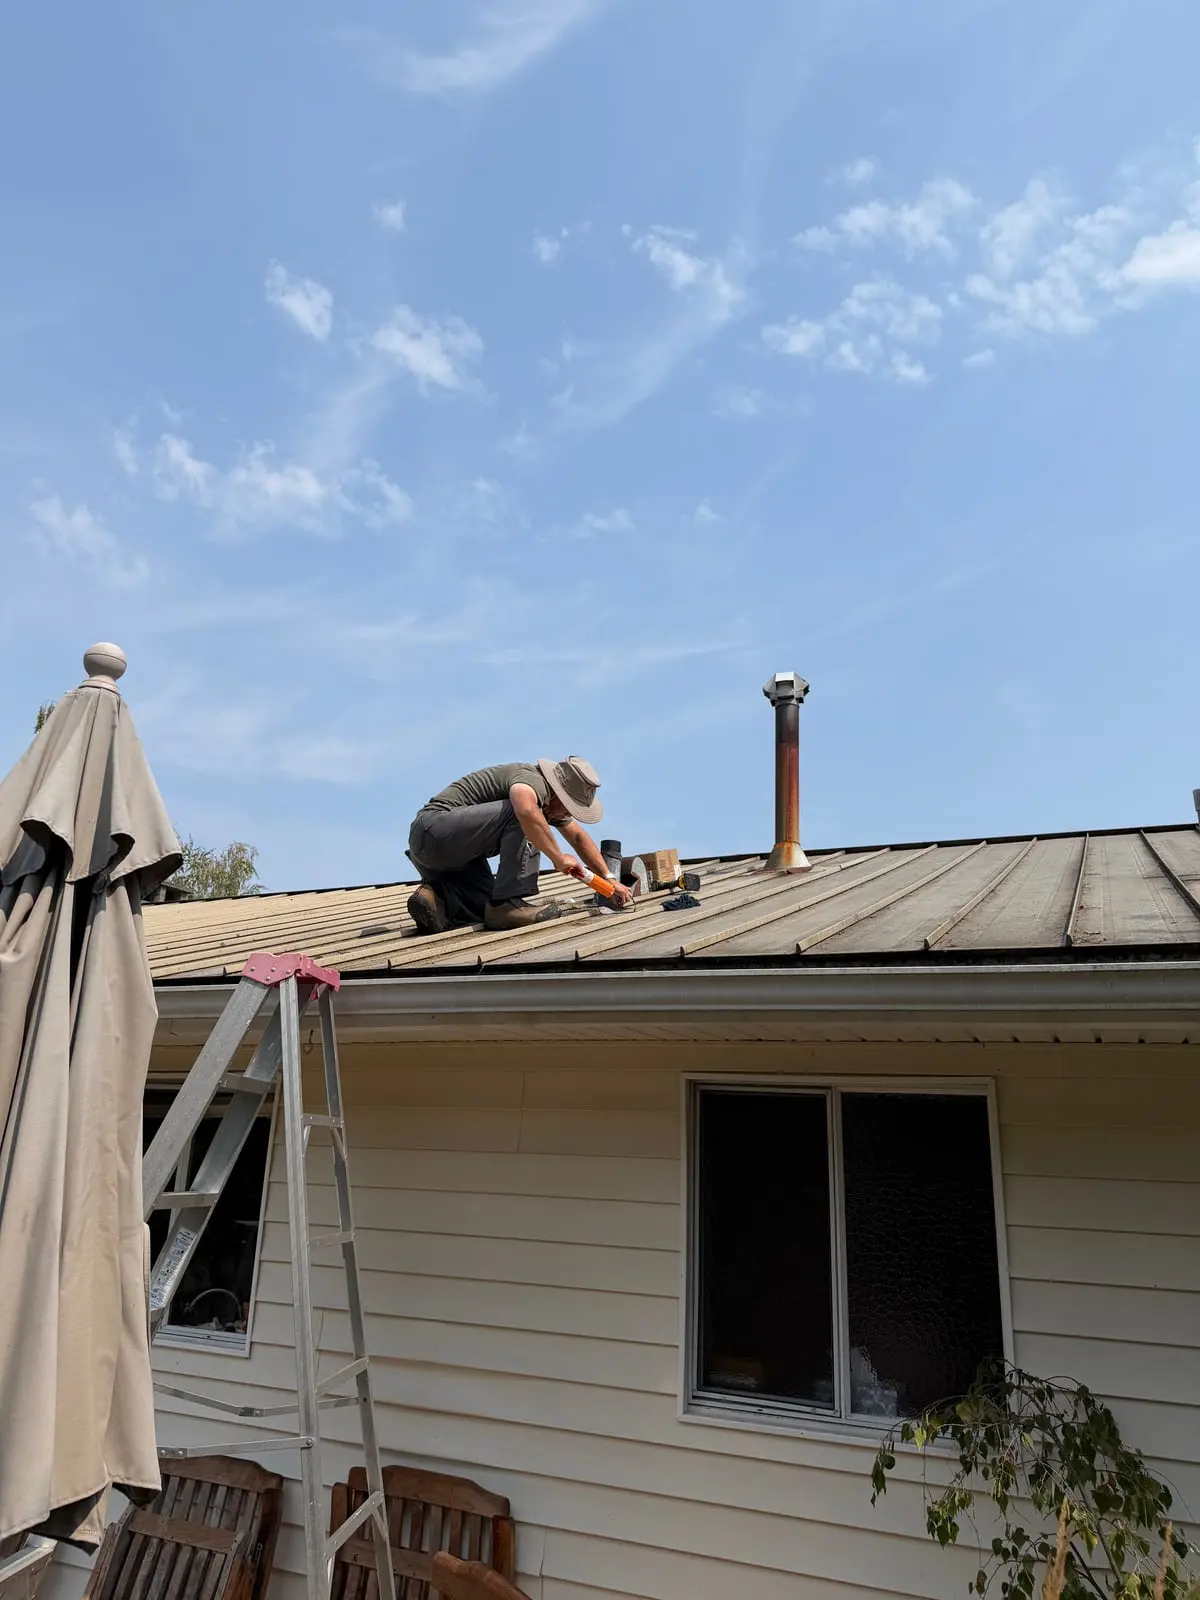
Water was sheeting over the front edge of the gutter and running down the fascia instead of reaching the downspout. Inside the gutter, needles and moss had compacted into a solid mat holding standing water — heavy enough that the gutter had started pulling away from its brackets. There was also a nest packed into the downspout elbow.

What we did

We cleared the full run by hand, flushed it, pulled the nest out of the elbow, re-secured the loose section and checked the slope so water actually runs to the outlet. We photograph the debris because it is the only way to show what was in there once it is gone.

The result

Water goes where it is supposed to. This is the cheapest maintenance there is on a house here, and skipping it is how fascia rot and interior ceiling stains start.

Book this job: Roof & Exterior

Flooring

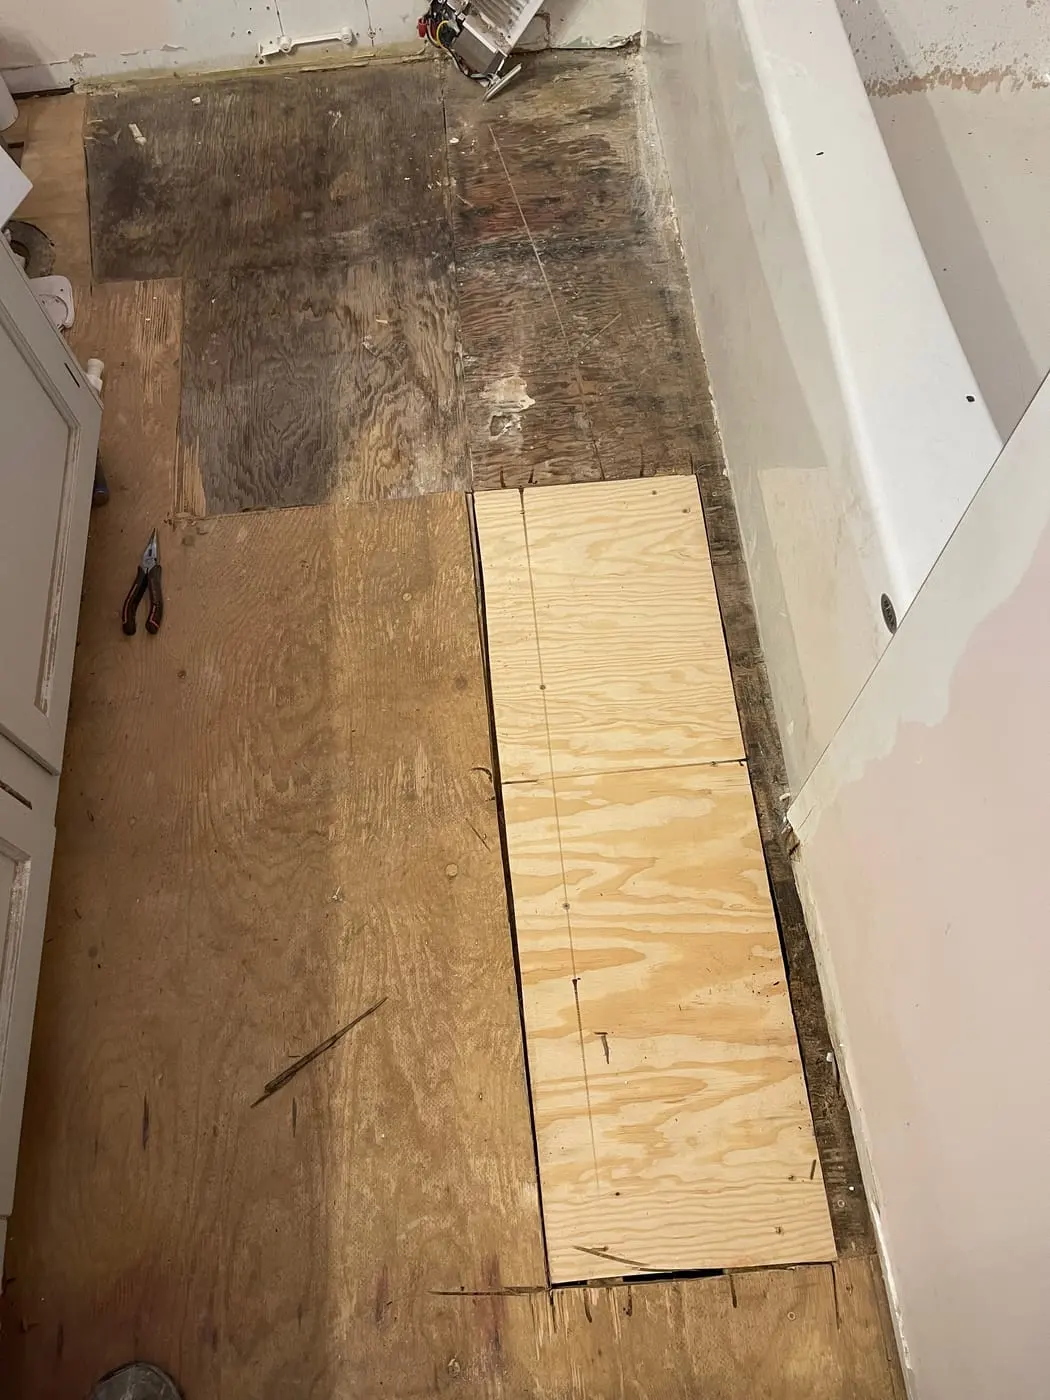
The soft spot beside the tub

You feel it through your socks before you ever see it.
Time on site: One day·3 photos

The problem

The floor beside the tub flexed underfoot. Once the finished floor came up, the plywood underneath was dark and delaminating along the tub edge — a slow leak that had been wicking into the subfloor long enough to spread past the visible area.

What we did

We cut the damaged plywood out back to sound joists, let it dry, and cut and fitted new subfloor around the tub and toilet flange. The fiddly part is the cutting: nothing in a bathroom is a straight line, and every piece has to be scribed rather than measured.

The result

A solid floor to build back on. We would rather find this and tell you than lay a beautiful new floor over wet plywood.

Book this job: Flooring

Flooring

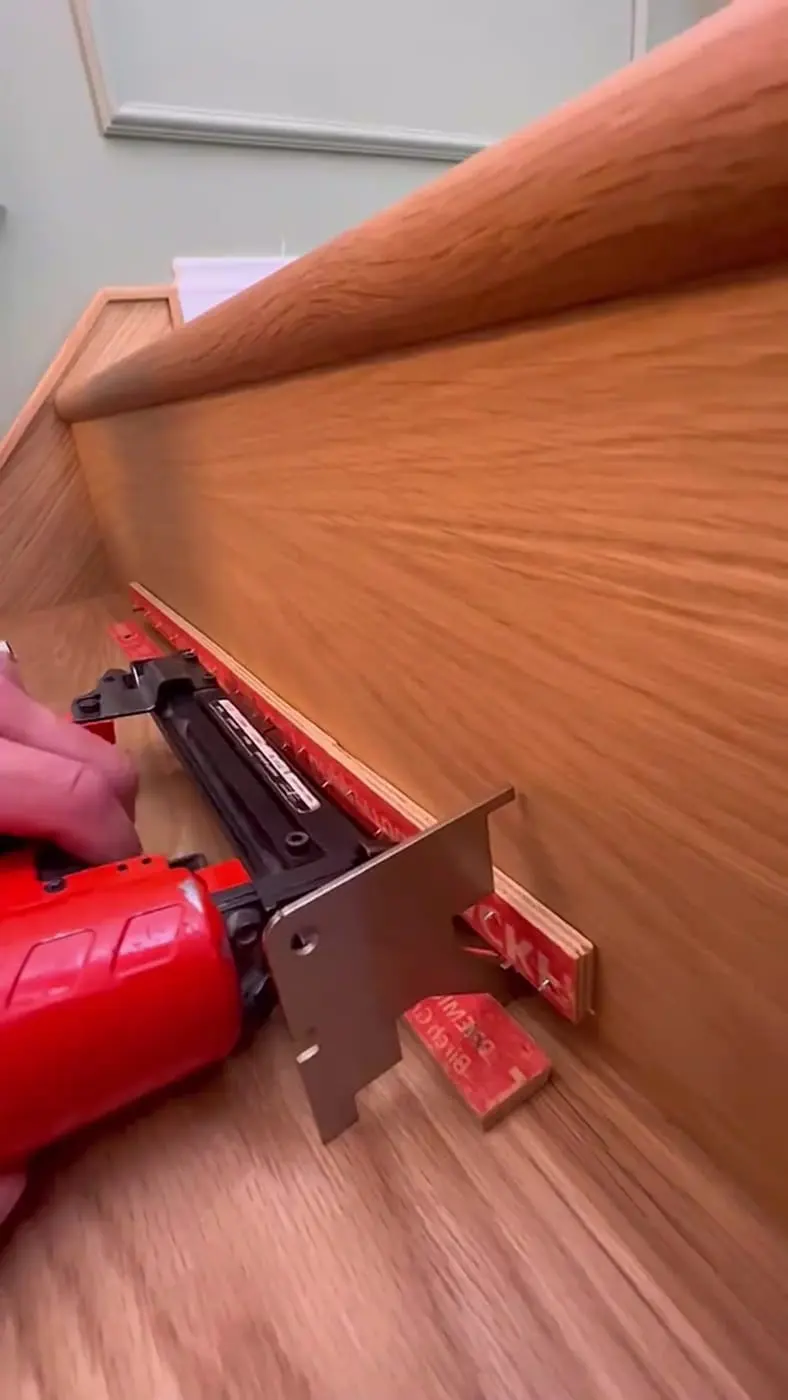
Pulling the carpet off the stairs

Every stair carpet has a story underneath it, and it is usually not a good one.
Time on site: One and a half days·3 photos

The problem

Worn carpet on a stair run, held down with tack strip and a few hundred staples. Under it, the treads were bare construction-grade material never meant to be seen, with the nosings chewed up from the original install.

What we did

Carpet and underlay off, tack strip out, every staple pulled — that last part is most of the labour and there is no shortcut. Then new nosing and tread material fitted and fastened, glued and pinned so nothing moves or squeaks later.

The result

A stair run that can be walked barefoot and vacuumed in ten seconds. Stairs are also the loudest thing in a house — doing them properly is the difference between silence and a creak on the fourth step forever.

Book this job: Flooring

Mounting & Assembly

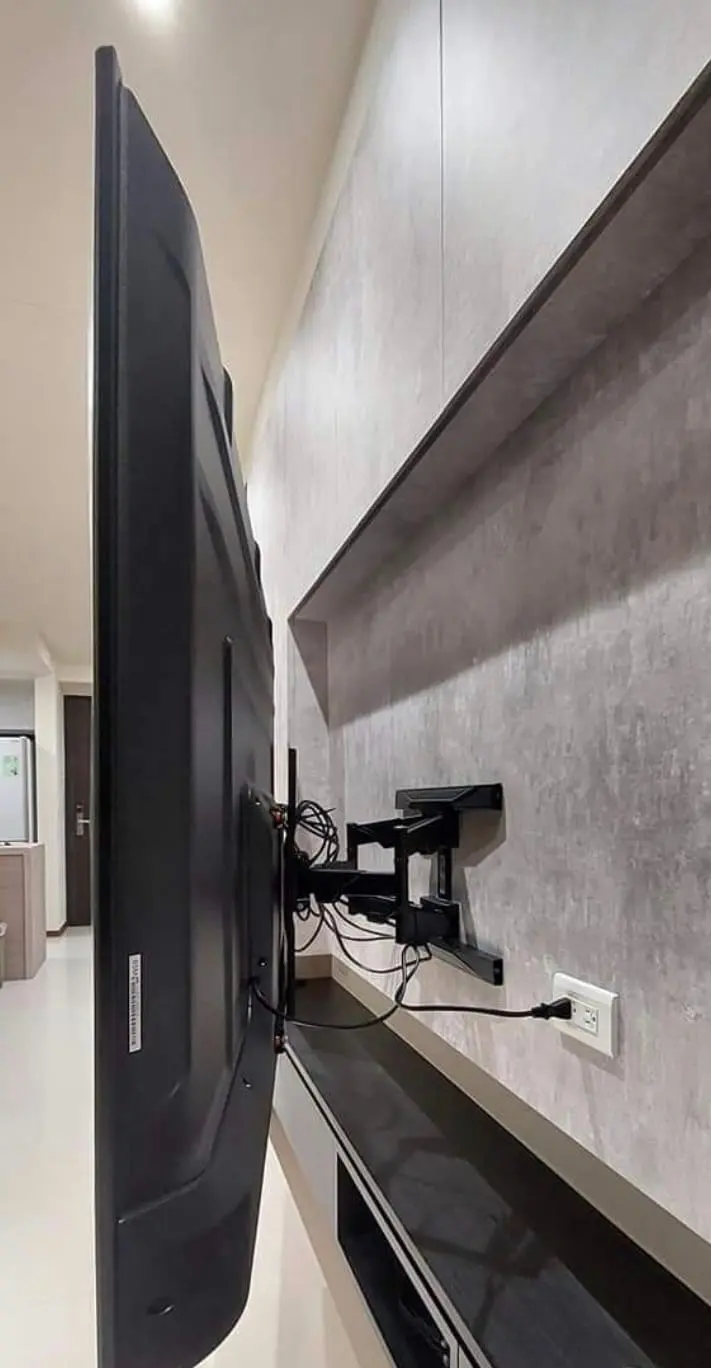
Three TVs, three completely different walls

The TV is the easy part. The wall decides everything.
Time on site: About an hour each on a stud wall; longer on brick or over a fireplace·3 photos

The problem

Mounting a television is not one job. On a stud wall you find framing and lag into it. On brick you drill and sleeve-anchor. Over a fireplace you are working around a mantel and a heat source with a full-motion arm that has to clear both. Using the wrong approach on any of them is how a TV ends up on the floor.

What we did

For each one: confirm what is behind the surface, pick the anchor that suits it, level the plate, mount, then dress the cables — either through an in-wall pass-through where the wall allows it, or in a painted surface raceway where it does not.

The result

Level, solid, and no cable hanging down the wall. On the brick wall the arm swings out to face the kitchen and folds back flat when it is not in use.

Book this job: Mounting & Assembly

Doors & Locks

The door was never the problem

People buy a new lock. Nine times out of ten they needed three screws.
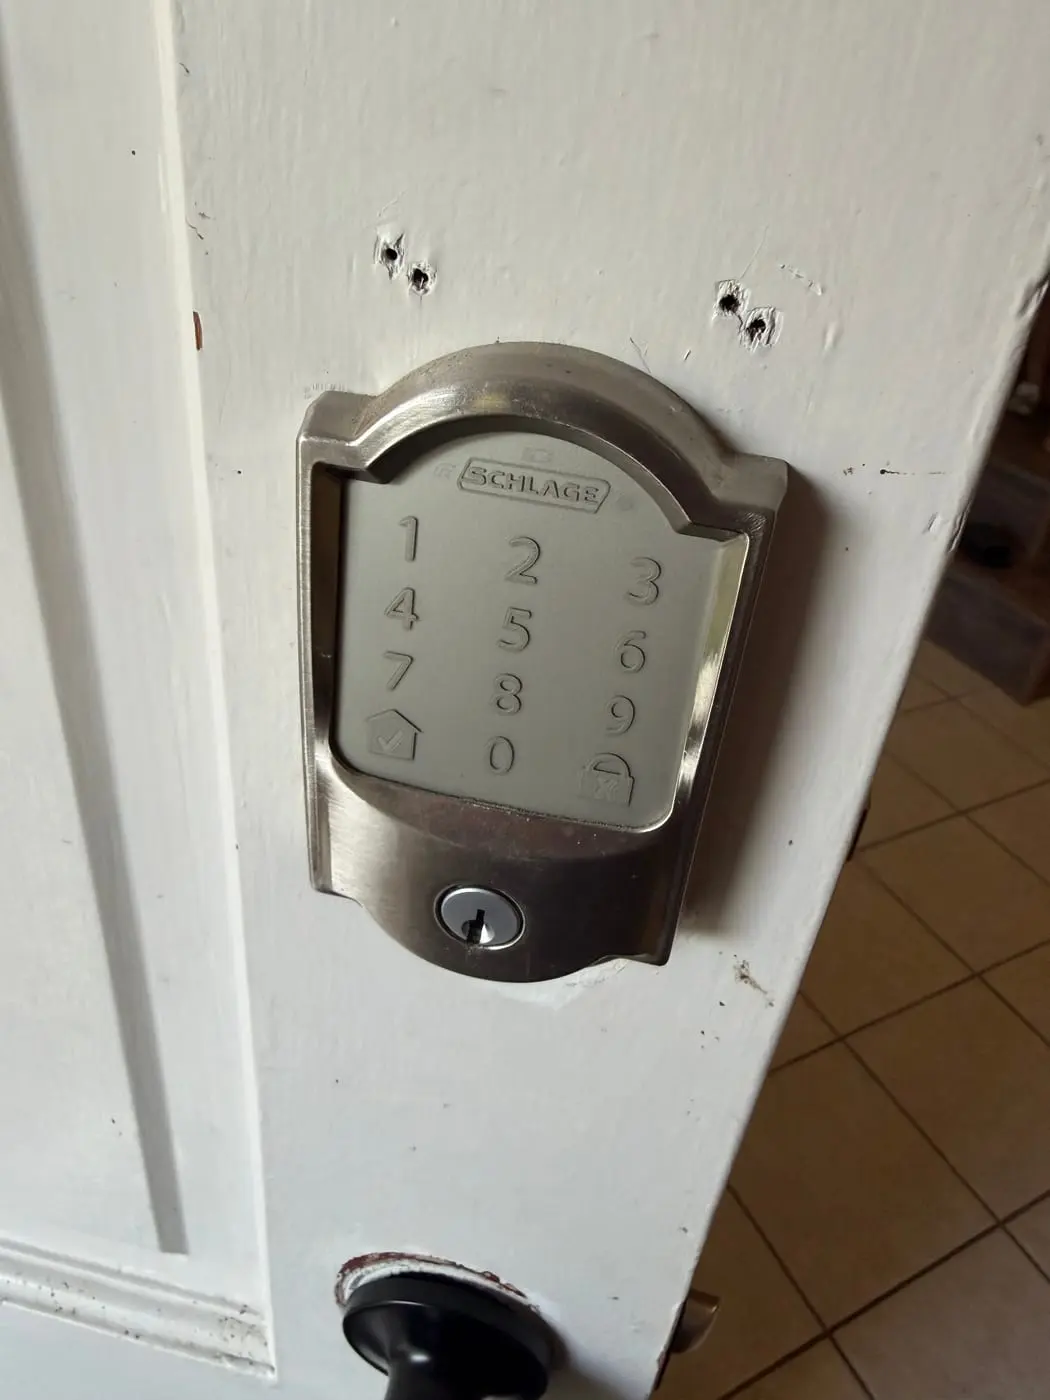
Time on site: Usually under two hours per door·5 photos

The problem

A door that will not latch is usually a door that has dropped. Hinge screws strip out into soft framing, the door sags a few millimetres, and the latch stops meeting the strike plate. A new lock does not fix any of that, because the lock was working fine.

What we did

We replace failed hinges, drive into solid material instead of a stripped hole, realign or shim the strike plate, and adjust the door so it closes with a push instead of a shoulder. Where a keypad deadbolt is going in, we check the door thickness and backset first, then set the codes with the homeowner before we leave.

The result

Doors that latch on the first try. This is the cheapest repair we do and the one people put off longest.

Book this job: Doors & Locks

General Repairs

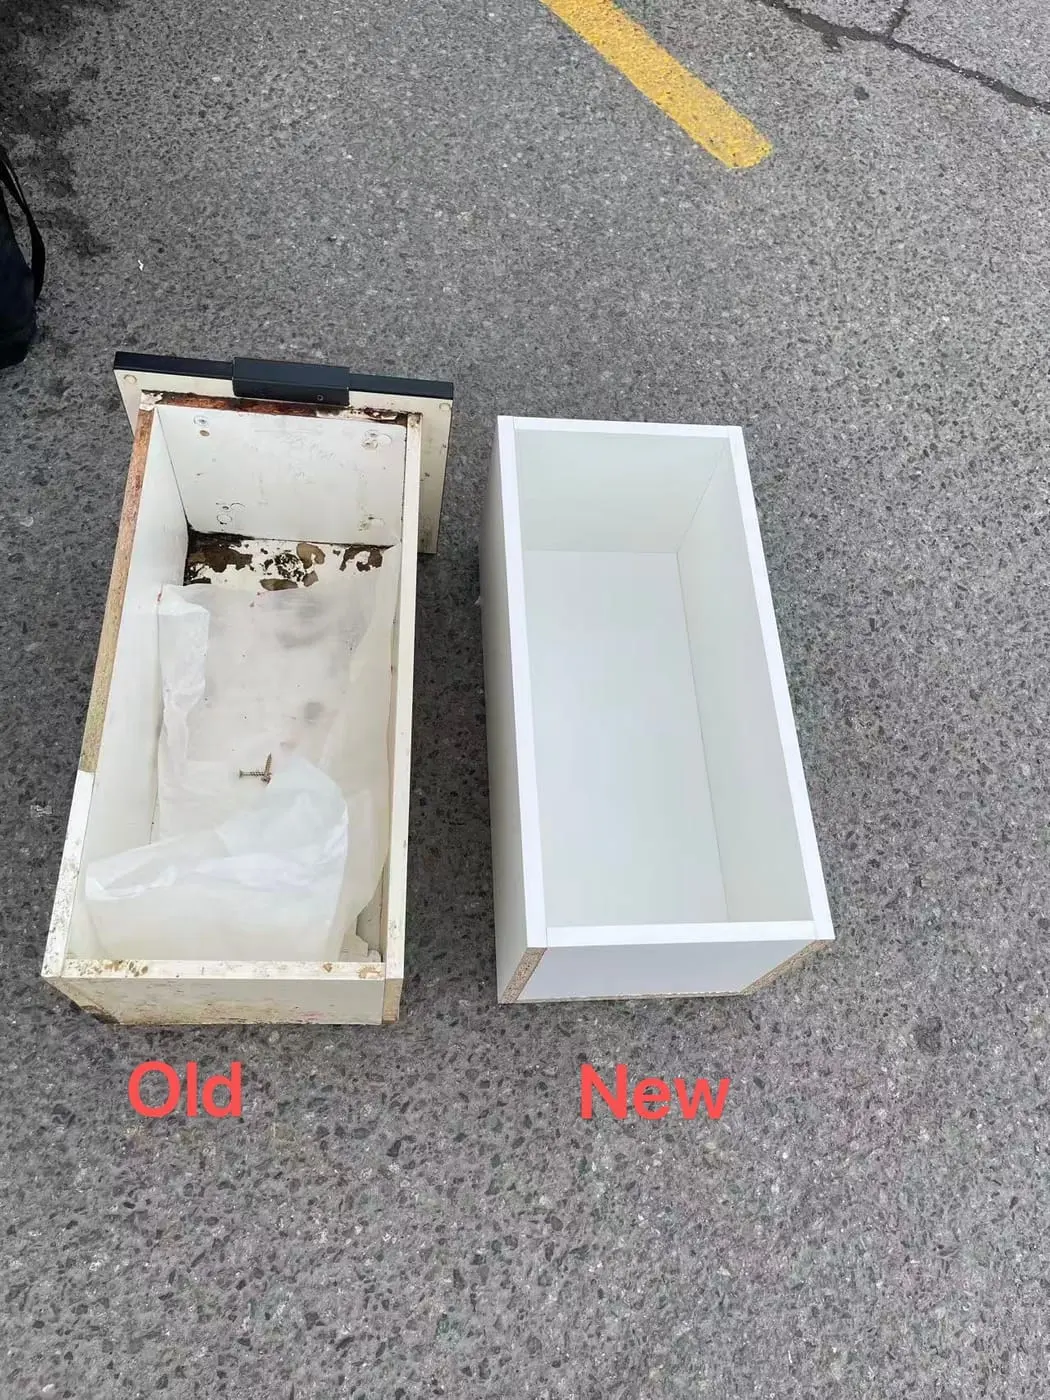
One drawer, rebuilt instead of replaced

The cabinet was fine. One drawer box had simply given out.

Time on site: Half a day·1 photos

Old box on the left, its replacement on the right.

The problem

The bottom had dropped out of a drawer box and the corners had let go. Replacing the whole cabinet to fix one drawer is the kind of quote people get and then live with a broken drawer for two years instead.

What we did

We built a new box to the original dimensions so it runs on the existing slides and sits in the existing opening, and reused the original front so it still matches the rest of the kitchen.

The result

A drawer that works, at a fraction of a cabinet replacement. This is the single most satisfying category of work we do.

Book this job: General Repairs

Tell us what broke.

Call 778-952-1389, or text a photo and we will price it. Free either way, seven days a week.

CallFree quote